Switch Off: Canvas | Switch On: Vision
Course Highlights Recap
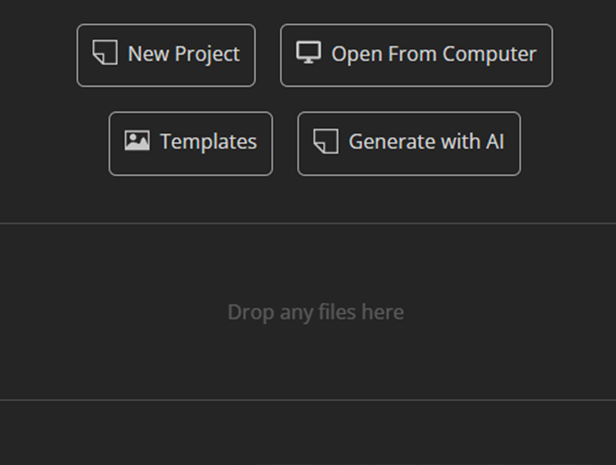
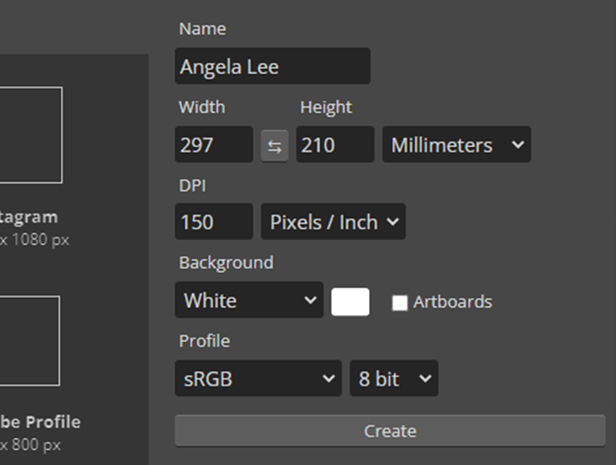
1. Select "New Project" to create a new file
2. Choose size: 297x210 mm (A4)
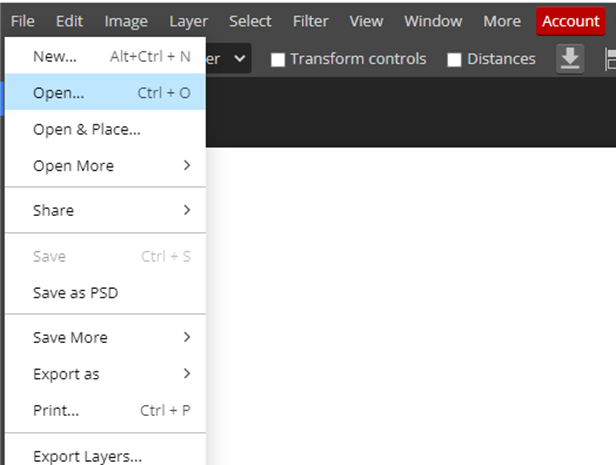
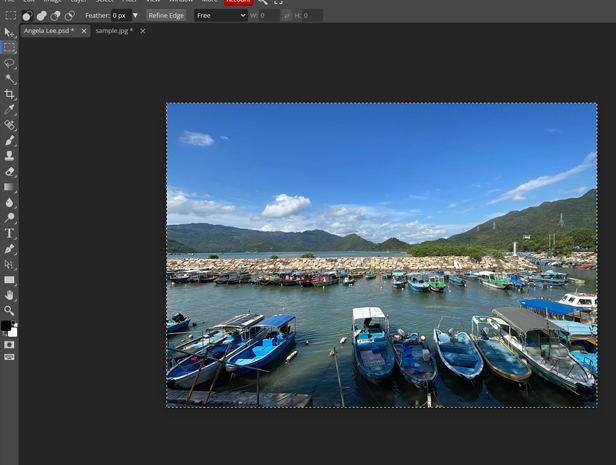
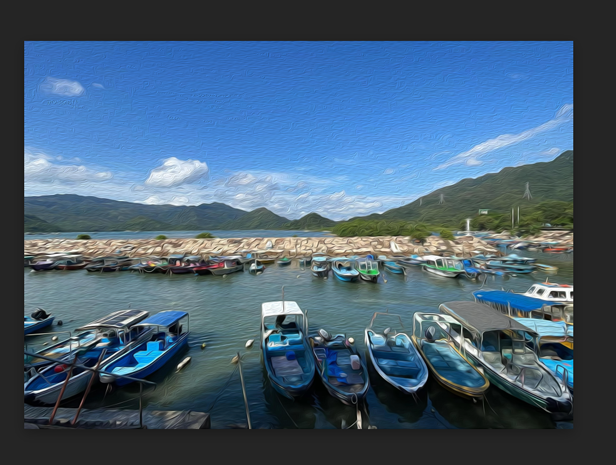
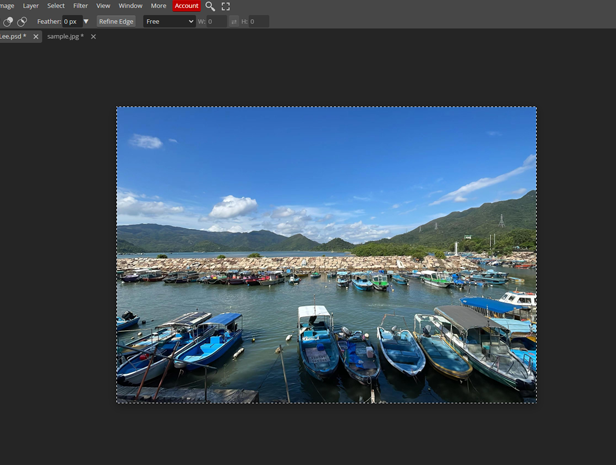
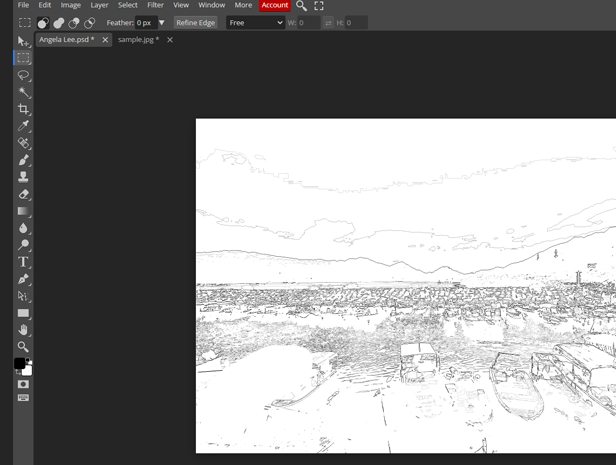
1. Select "File → Open" to import the downloaded image
2. Use the rectangle tool
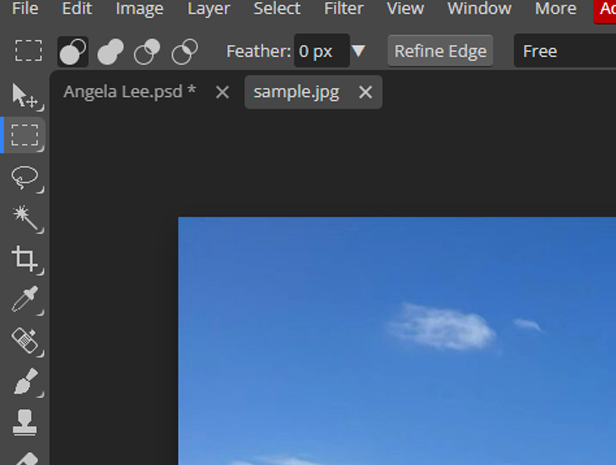
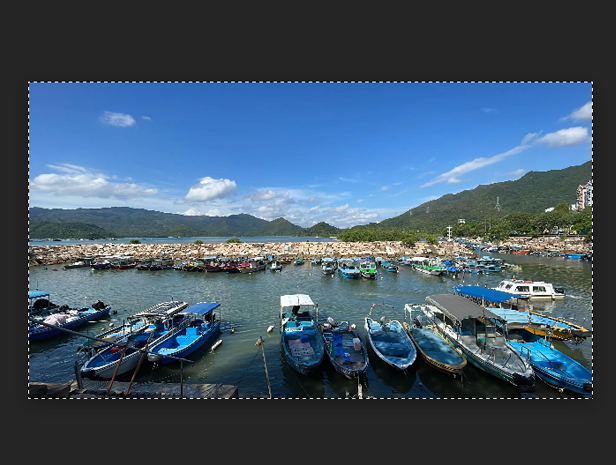
3. Select the entire image from top-left to bottom-right
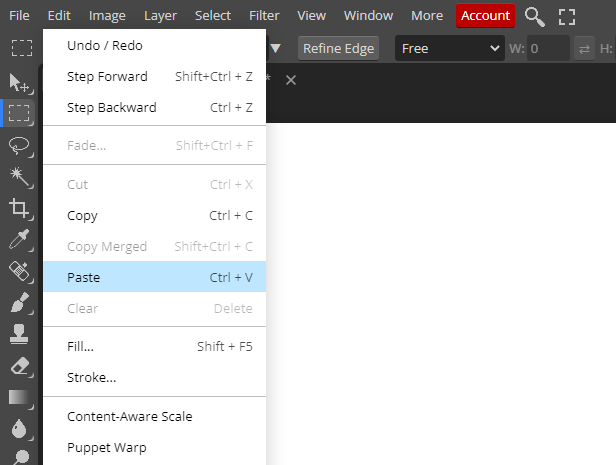
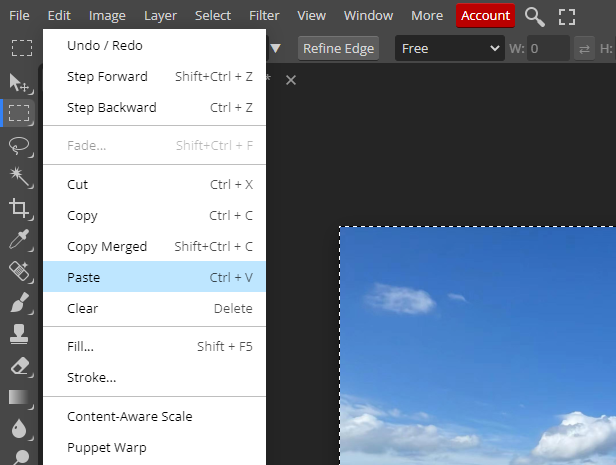
4. Edit→Copy
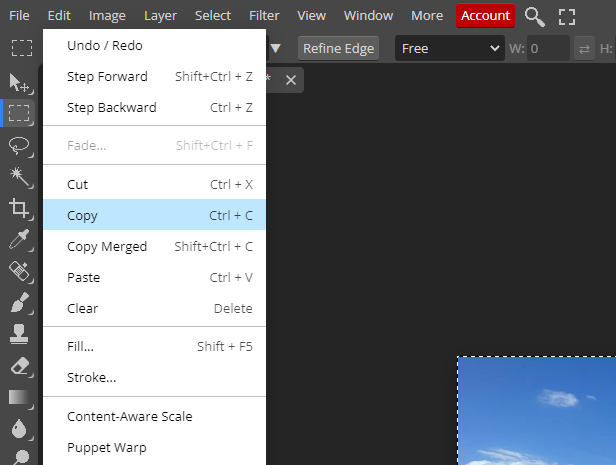
5. Select the A4 canvas
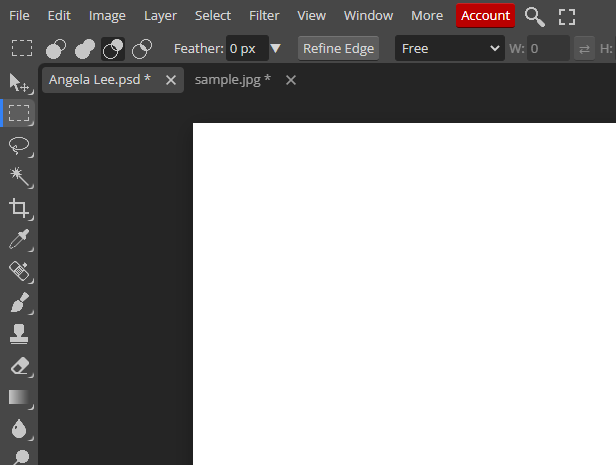
6. Edit→Paste
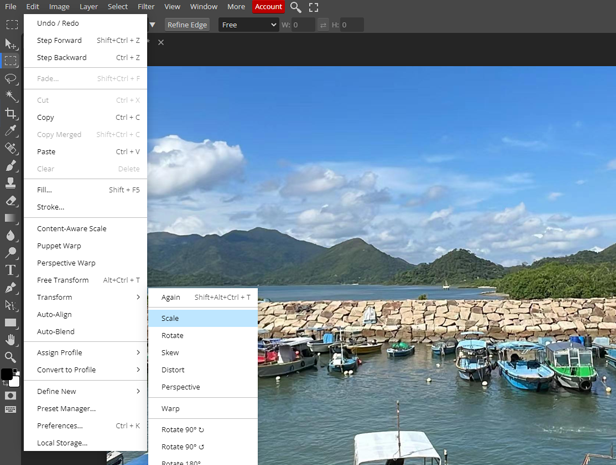
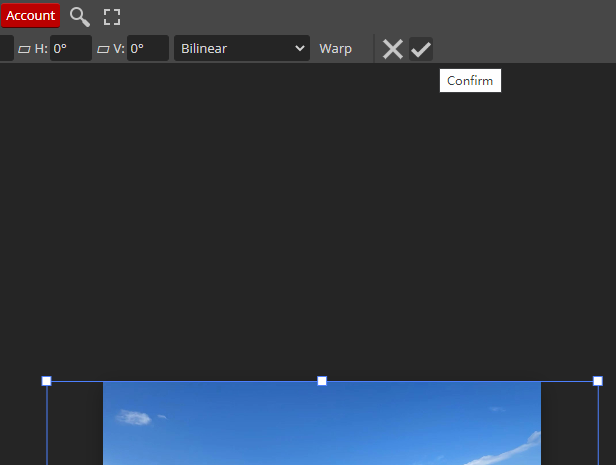
7. Edit → Transform → Scale to resize the image
8. Zoom out and the blue border indicates the image is larger
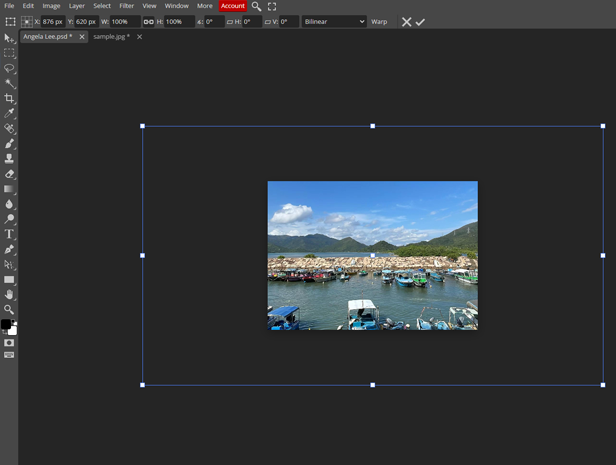
9. Drag the bottom-right corner square to adjust size
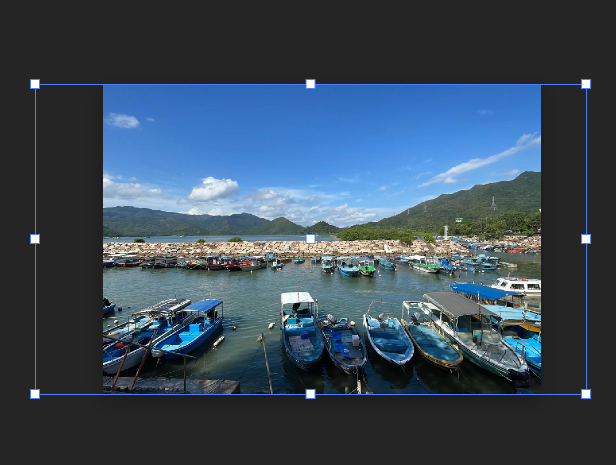
10. Confirm with √
1. Select the entire image from top-left to bottom-right
2. Edit→Copy

3. Edit→Paste

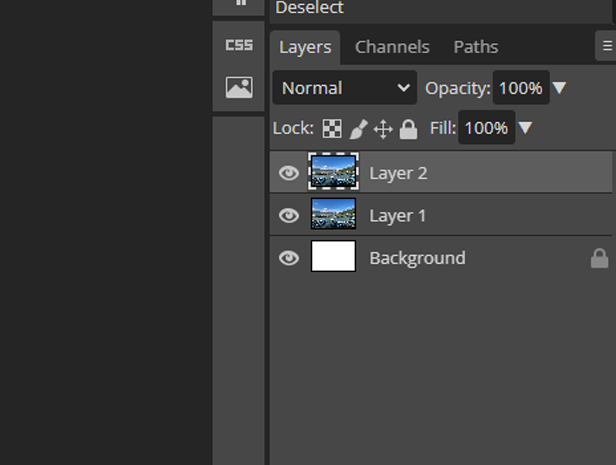
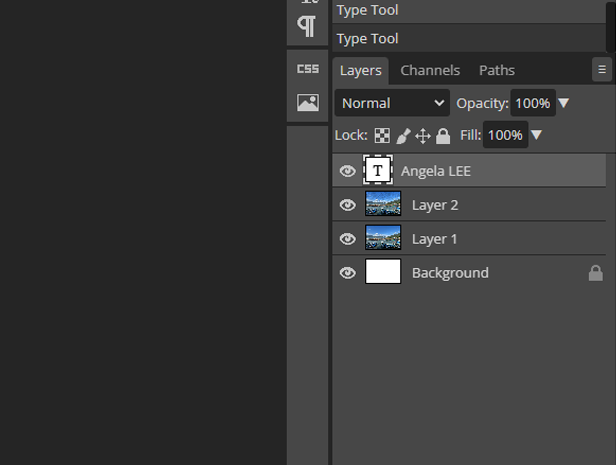
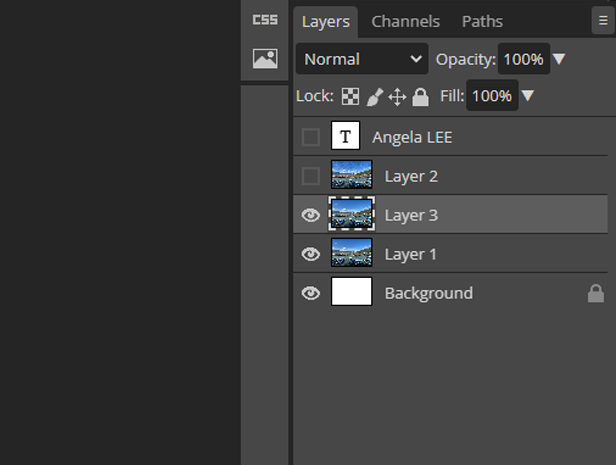
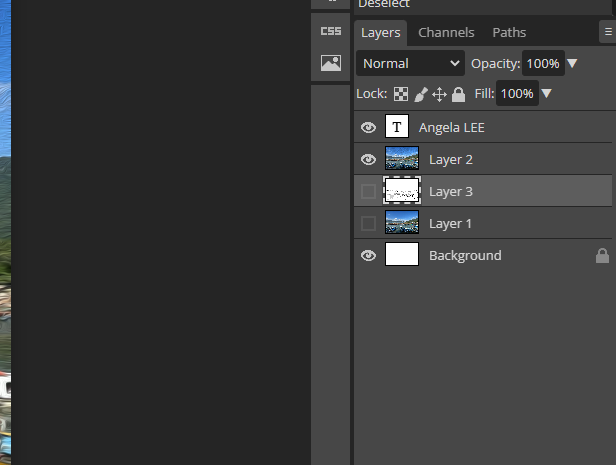
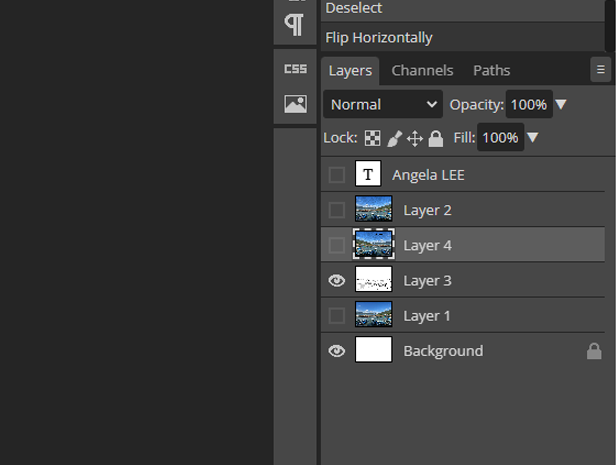
4. Right panel shows a new layer
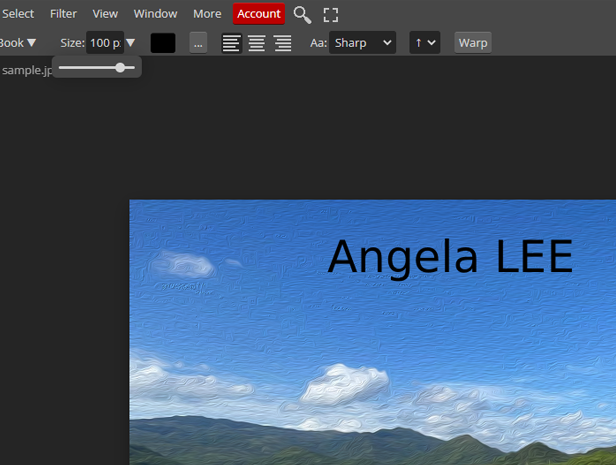
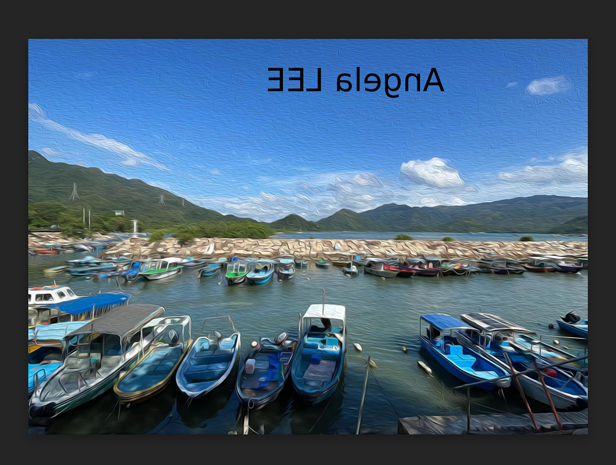
5. Filter→Stylize→Oil Paint
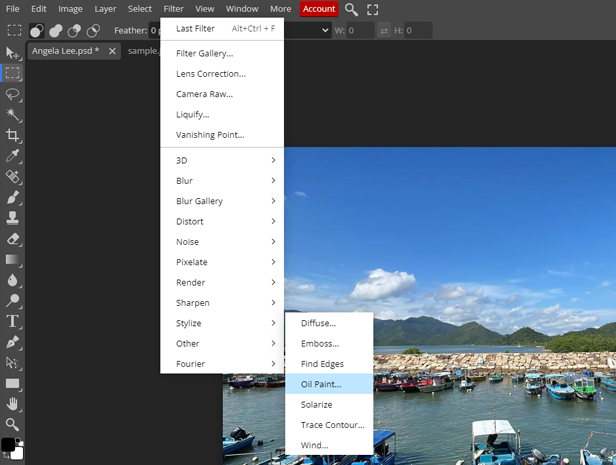
6. Default settings, click OK

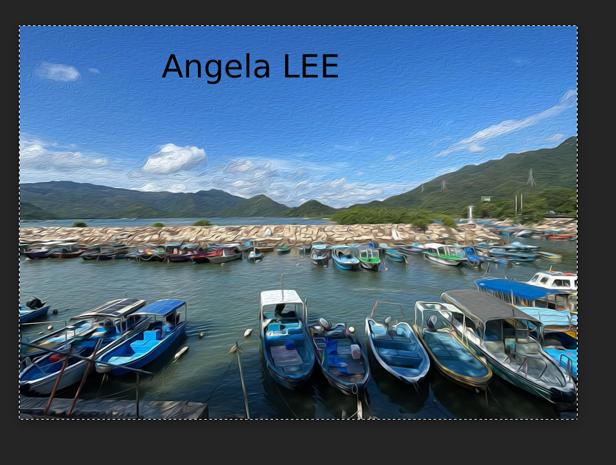
7. Image changed to Oil Paint style automatically
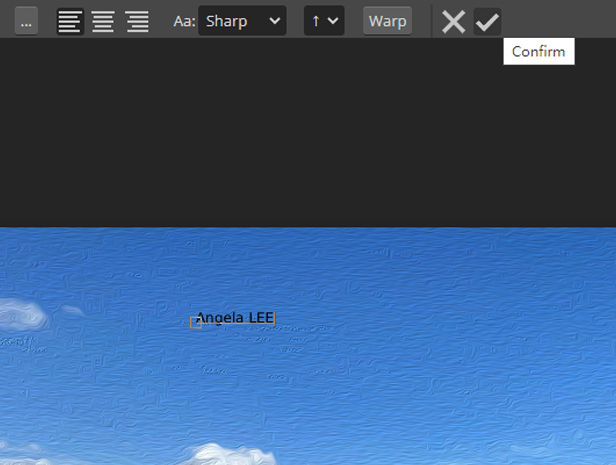
8. Use the text tool (T)
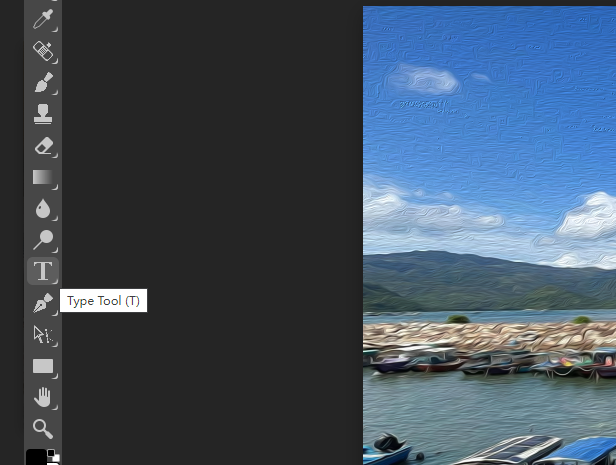
9. Click on the image and type
10. Do not need to adjust, confirm with √ first
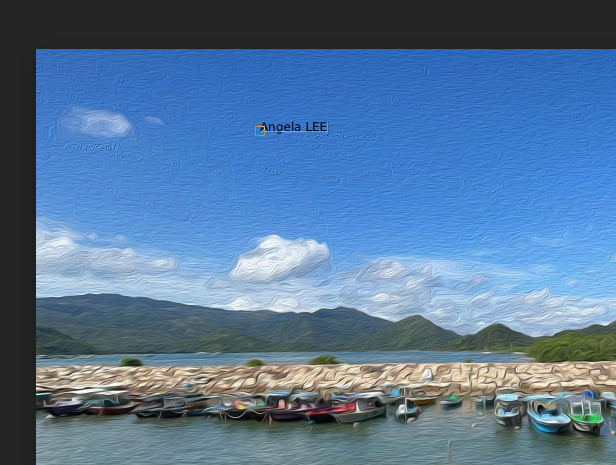
11. Adjust font size
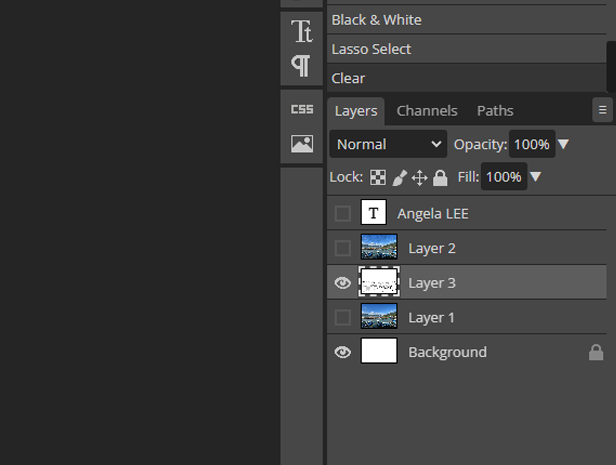
12. Right panel shows: 2 image layers + 1 text layer
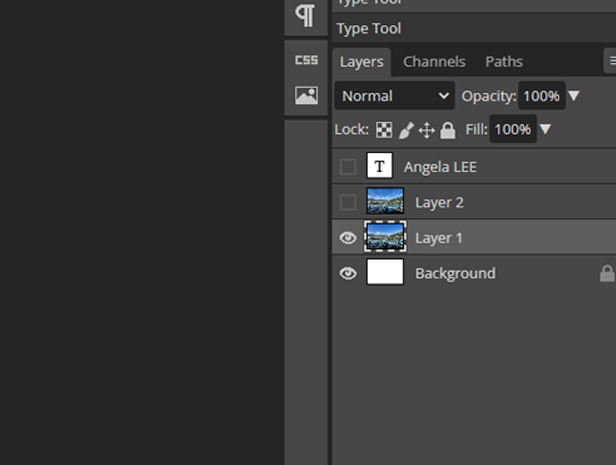
1. Click the eye icon to hide the top two layers and select Layer 1
2. Select the entire image from top-left to bottom-right
3. Edit→Copy

4. Edit→Paste
5. Right panel shows a new layer
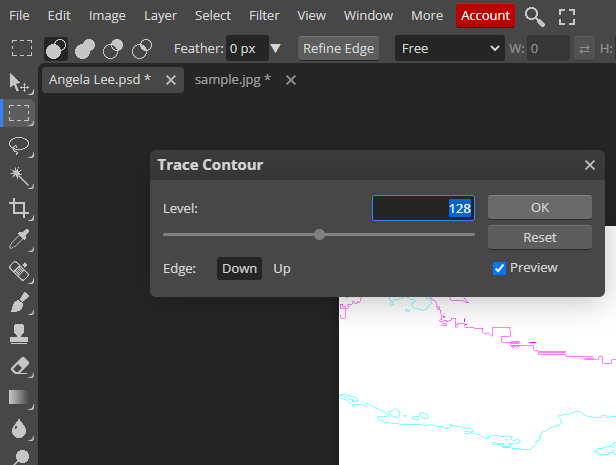
6. Filter→Stylize→Trace Contour
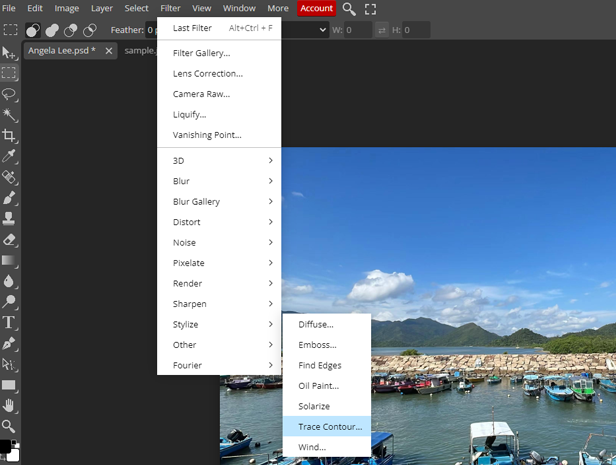
7. Default settings, click OK
8. Image→Adjustments→Black & White
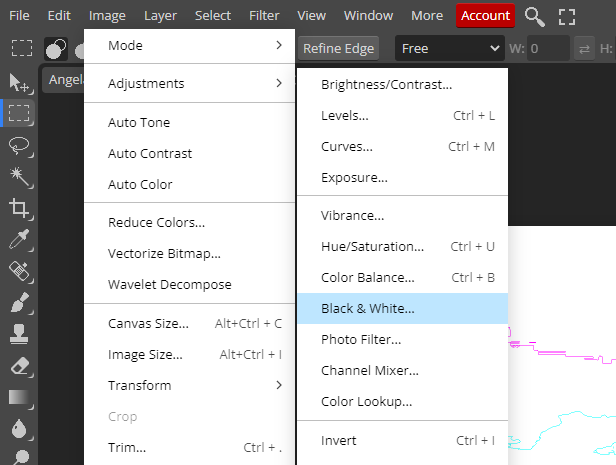
9. Default settings, click OK

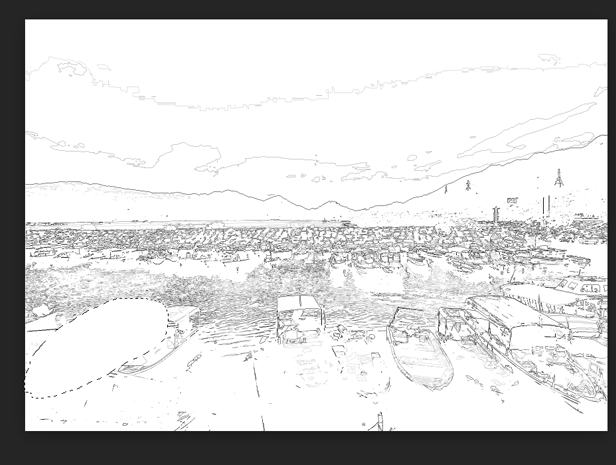
10. Use the Lasso tool
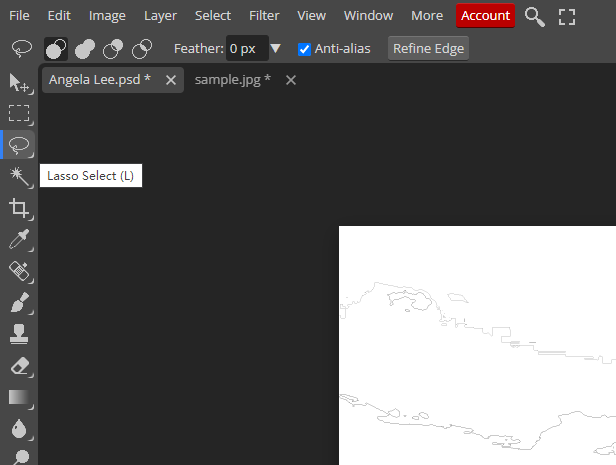
11. Manually select areas to delete (Press continuously)
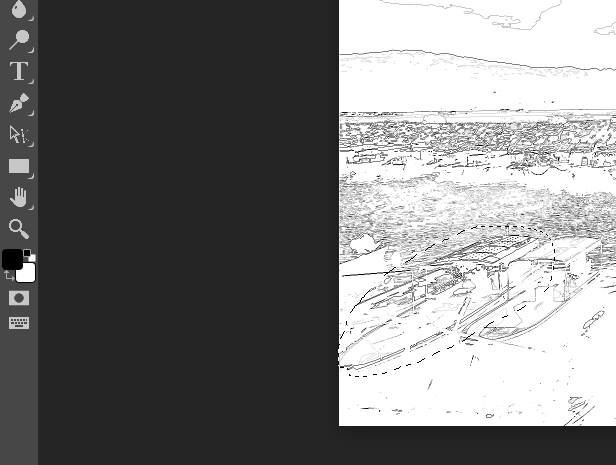
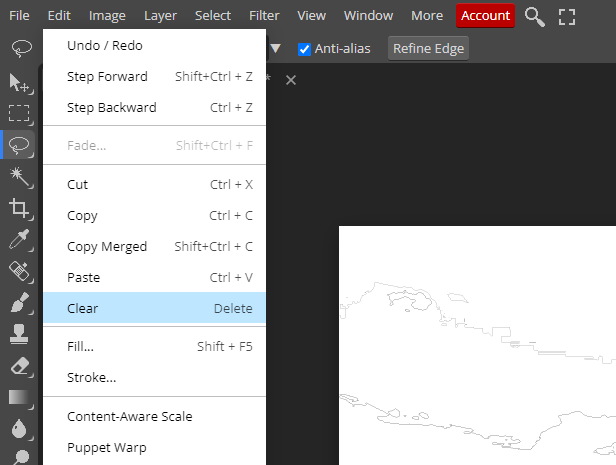
12. Edit→Clear
13. The bottom colored layer revealed
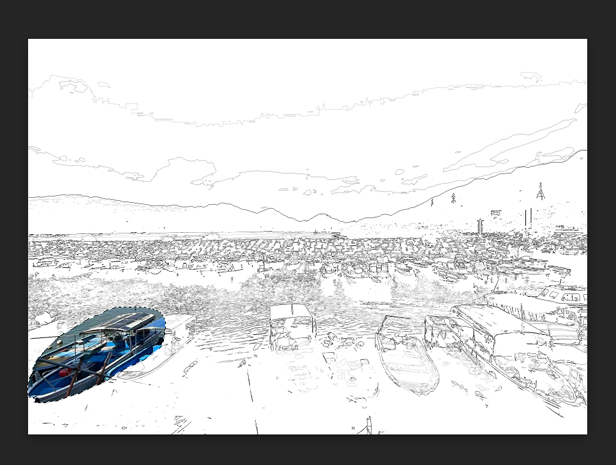
14. Hide Layer 1 by clicking the eye icon
15. White background remains with visible outlines
16. Use the rectangle tool to click anywhere on the image
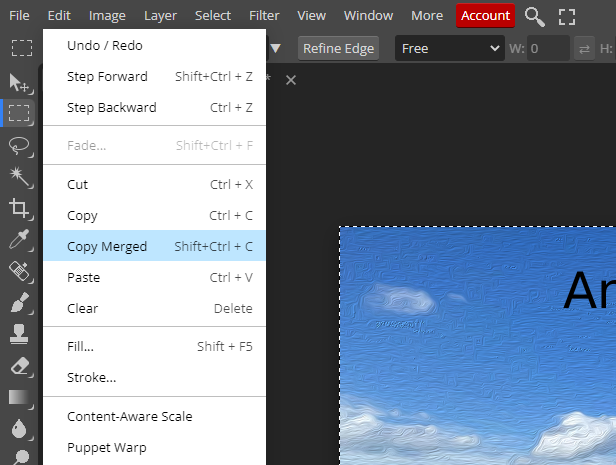
1. Click the eye icon to show the top two layers
2. Select the entire image from top-left to bottom-right
3. Edit→Copy Merge (copies both layers)
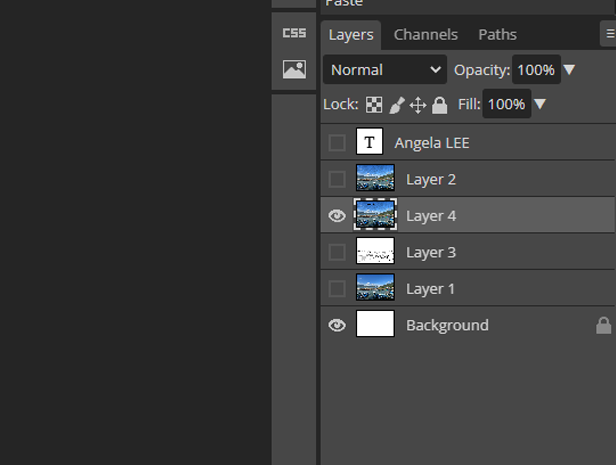
4. Edit→Paste (new layer appears)
5. Edit→Transform→Flip Horizontally

6. Image and text both flipped horizontally
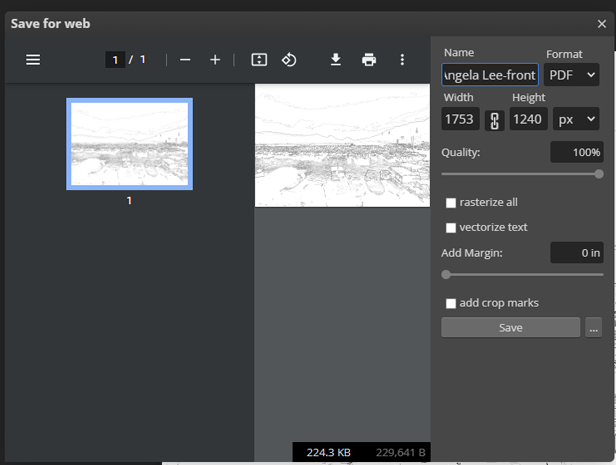
1. File→Export as→PDF
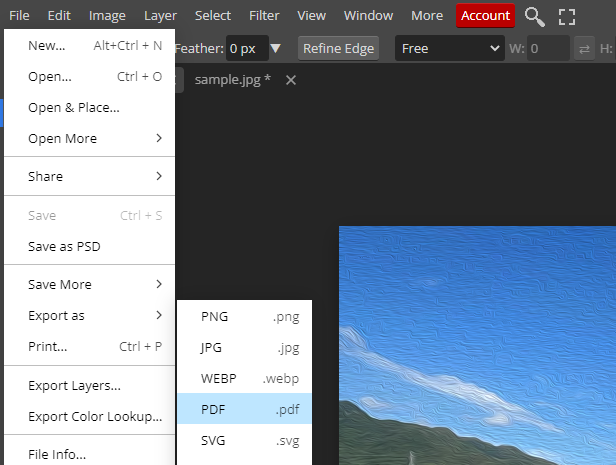
2. Add "_back" to the filename

3. Click the eye icon to show only Layer 3
4. File→Export as→PDF and add "_front" to the filename